Wallet and Apple Pay Settings: Your Ultimate Guide to Seamless Payments
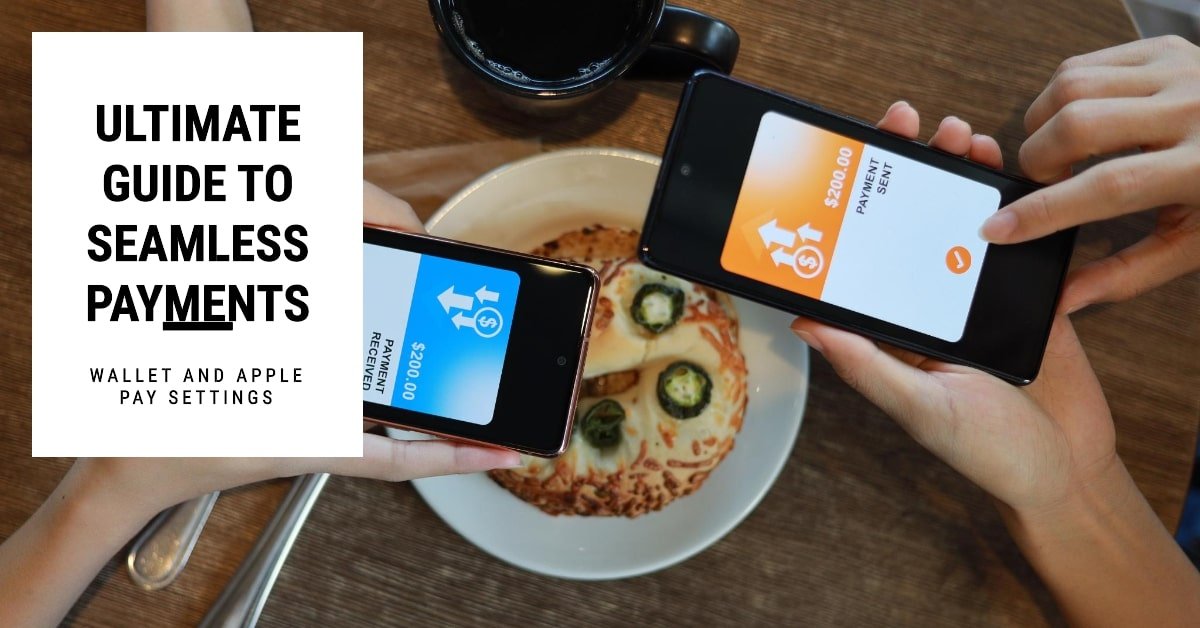
Welcome to TechFinanceGuide.com! If you’re eager to harness the convenience and security of digital payments, you’ve come to the right place. Today, we’re diving into the world of Wallet and Apple Pay, two game-changing features that are revolutionizing how we make payments. Ever wished you could ditch your bulky wallet and pay with just a tap of your iPhone or Apple Watch? Well, you’re in luck, because that’s precisely what Apple Pay allows you to do. It’s not just convenient, it’s also incredibly secure. But before you can start tapping away, you need to understand how to set up and manage your Wallet and Apple Pay settings. Don’t worry, I’ve got you covered. In this comprehensive guide, we’ll walk through everything you need to know, from enabling Apple Pay to troubleshooting common issues. So, let’s get started!
What exactly is Wallet and Apple Pay?
In a nutshell, Wallet is your digital wallet that stores your credit, debit, and prepaid cards, as well as boarding passes, tickets, and other important documents. Apple Pay, on the other hand, is the technology that allows you to use your device to make payments in stores, within apps, and on the web. Think of it as your virtual card that’s always with you, ready to be used anytime, anywhere. Pretty neat, huh?
Setting Up Apple Pay
Enabling Apple Pay on your iPhone or Apple Watch is a breeze. It’s as easy as adding your cards to the Wallet app and following the on-screen instructions. Here’s how to get started:
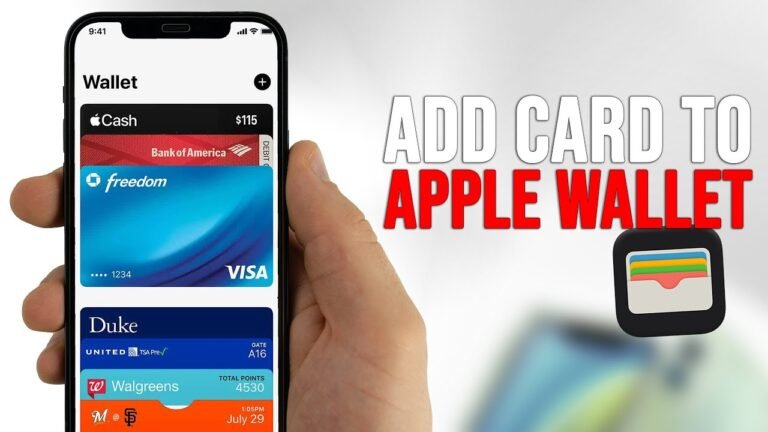
- Open the Wallet app on your iPhone.
- Tap the “+” button to add a new card.
- You can either scan your card with your device’s camera or enter the card details manually.
- Once you’ve added your card, you’ll need to verify it with your bank.
- That’s it! Your card is now ready to be used with Apple Pay.
To set up Apple Pay on your Apple Watch, open the Apple Watch app on your iPhone, tap “Wallet & Apple Pay”, and follow the instructions.
How to Add Cards to Apple Pay
Apple Pay supports a wide range of credit, debit, and prepaid cards from major banks and card issuers. To add a card, simply open the Wallet app, tap the “+” button, and follow the prompts. You can also add cards from supported banking apps. The process is quick and straightforward, and you’ll be ready to make payments in no time.
Setting Up Apple Pay on iPhone
The Wallet app on your iPhone is your one-stop shop for managing your cards and payments. To set up Apple Pay, open the app, tap “Add Card,” and follow the instructions. You’ll be asked to verify your card for security purposes, which usually involves entering a verification code sent by your bank. Once verified, your card will be ready to use with Apple Pay.
Adding Apple Pay to Apple Watch
If you own an Apple Watch, you can also use it to make payments with Apple Pay. To add your cards to your watch, open the Apple Watch app on your iPhone, go to “Wallet & Apple Pay,” and follow the instructions. You can even set a default card for faster payments on your watch.
For added convenience, consider adding Apple Pay to your Apple Watch. Here’s how:
- Compatibility Requirements: Ensure your Apple Watch model supports Apple Pay. Most recent models offer this functionality for added convenience.
- Syncing with iPhone: Sync your Apple Watch with your iPhone to seamlessly transfer your cards and preferences. Follow the on-screen instructions to complete the setup process.
- Setting Default Cards: Customize your Apple Watch experience by setting default cards for quick and easy transactions on the go.
Adding Apple Pay to iPad and Mac
Apple Pay is also available on iPad and Mac devices, provided they meet certain compatibility requirements. To set up Apple Pay on your iPad, go to “Settings,” then “Wallet & Apple Pay,” and follow the instructions. On your Mac, go to “System Preferences,” then “Wallet & Apple Pay,” and add your cards.
Extend the power of Apple Pay beyond your iPhone and Apple Watch to your iPad and Mac. Here’s how:
- Supported Devices: Check if your iPad or Mac model supports Apple Pay. Most recent models offer this functionality for enhanced flexibility.
- Configuring Apple Pay on iPad: Access the Settings menu on your iPad and navigate to Wallet & Apple Pay. Follow the prompts to add your preferred cards and verify for security.
- Enabling Apple Pay on Mac: Unlock a world of convenience by enabling Apple Pay on your Mac. Access System Preferences, click on Wallet & Apple Pay, and follow the on-screen instructions to complete the setup process.
Managing Wallet Settings
The Wallet app is more than just a place to store your cards. It’s also a powerful tool for managing your payments and organizing your digital life. Here are some of the things you can do with Wallet settings:
Managing Payment Cards
- Edit card details: If you need to update your card’s expiration date or billing address, you can easily do so within the Wallet app.
- Remove cards from Wallet: If you no longer use a particular card, you can remove it from your Wallet to keep things organized.
- Set default payment methods: You can choose which card you want to use as your default payment method for Apple Pay.
Organizing Passes and Tickets
- Adding passes for flights, events, etc.: Wallet is a great place to store boarding passes, event tickets, and other important documents.
- Organizing passes in Wallet: You can create folders to keep your passes organized and easy to find.
- Removing expired or unused passes: Get rid of clutter by removing passes you no longer need.
Customizing Wallet Appearance
- Changing card display preferences: You can choose how your cards are displayed in Wallet, such as showing the card number or just the last four digits.
- Adding photos to cards: Personalize your cards by adding photos to them.
- Sorting and categorizing cards: You can sort your cards by type, name, or last used to make them easier to find.
Apple Pay Security and Privacy
One of the biggest concerns people have about mobile payments is security. But with Apple Pay, you can rest assured that your transactions are safe and secure. Apple Pay uses several layers of security to protect your information, including tokenization, biometric authentication, and device-specific account numbers.
Understanding Apple Pay Security Features
- Tokenization: Apple Pay doesn’t share your actual card numbers with merchants. Instead, it uses a unique device account number and a transaction-specific dynamic security code to authorize payments.
- Biometric authentication: You’ll need to use Face ID, Touch ID, or your passcode to authorize each payment, adding an extra layer of security.
- Device-specific account numbers: Each of your devices gets a unique account number that’s encrypted and stored on the device’s secure element chip. This means your card numbers aren’t stored on Apple servers or your device.
Managing Privacy Settings
You have full control over your Apple Pay privacy settings. You can choose whether or not you want to receive transaction notifications, and you can limit access to your Wallet when your device is locked. You can also review your transaction history and adjust your privacy controls at any time.
Take control of your privacy settings within the Wallet app. Here’s how:
- Controlling Transaction Notifications: Customize your notification preferences to stay informed about your transactions. Receive alerts for every purchase or opt for a more streamlined notification experience.
- Limiting Access to Wallet When Locked: Enhance security by limiting access to your Wallet app when your device is locked. This prevents unauthorized access and ensures your financial information remains protected.
- Reviewing Transaction History and Privacy Controls: Regularly review your transaction history and privacy controls within the Wallet app. Stay informed about your spending habits and adjust privacy settings as needed for added peace of mind.
Wallet And Apple Pay Settings Troubleshooting
Even with the best technology, issues can sometimes arise. Here are some common Apple Pay setup problems and frequently asked questions:
Common Apple Pay Setup Issues
- Troubleshooting card verification problems: If you’re having trouble verifying your card, double-check that you’ve entered the correct information. You can also try contacting your bank for assistance.
- Addressing unsupported card errors: Not all cards are compatible with Apple Pay. Check Apple’s website for a list of supported cards.
- Dealing with region-specific limitations: Apple Pay may not be available in all regions. Check Apple’s website to see if Apple Pay is supported in your country.
Apple Pay in the Real World: A Few Examples
Let me paint a picture of how Apple Pay can seamlessly integrate into your daily life. Imagine you’re grabbing your morning coffee at your favorite cafe. Instead of fumbling through your wallet for cash or a card, you simply hold your iPhone or Apple Watch near the contactless reader, and voila! Payment done. It’s that quick and effortless.
Let’s say you’re doing some online shopping on your Mac. When it’s time to checkout, you’ll see the Apple Pay button. With a simple click and a quick authentication with Touch ID or Face ID, your purchase is complete. No need to enter your card details or shipping address – Apple Pay takes care of it all.
You can even use Apple Pay to split a bill with friends, send or receive money through iMessage, or make donations to your favorite charities. The possibilities are endless!
FAQs About Wallet And Apple Pay Settings
How secure is Apple Pay?
Apple Pay is designed with security in mind and uses multiple layers of protection to keep your information safe.
Can I use Apple Pay internationally?
Apple Pay is accepted in many countries around the world. Check Apple’s website for a list of supported countries.
What happens if I lose my device?
If you lose your device, you can use the Find My app to suspend Apple Pay or remotely erase your device.
Where is the Wallet icon on iPhone?
The Wallet app icon is usually located on your iPhone’s home screen. You can also search for it using Spotlight Search.
Where is the “Add to Apple Wallet” button?
You’ll typically find the “Add to Apple Wallet” button in emails, websites, or apps that support Apple Wallet passes.
Where is Apple Wallet stored?
Your Apple Wallet data is stored securely on your device and in iCloud, encrypted for your protection.
Where is “Add to Apple Pay Wallet”?
You can add cards to your Apple Pay Wallet through the Wallet app or from supported banking apps.
Why is my Apple Wallet not showing on my screen?
If you can’t find your Apple Wallet, check if it’s hidden in your app library or if Screen Time restrictions are enabled.
How do I open Apple Wallet on my iPhone?
Tap the Wallet app icon on your home screen or search for it using Spotlight Search.
How do I find my Wallet on my phone?
The Wallet app is usually located on your home screen. If you can’t find it, search for it using Spotlight Search.
Conclusion
Congratulations on unlocking the full potential of Apple Pay and Wallet! By following our comprehensive guide, you’ve gained valuable insights into setting up, managing, and optimizing these powerful tools for seamless digital transactions. Whether you’re an iPhone aficionado or a Mac enthusiast, Apple Pay and Wallet offer unparalleled convenience and security in today’s digital age. Remember to prioritize security by regularly reviewing your settings and staying informed about the latest features and updates. With Apple Pay and Wallet at your fingertips, managing your finances has never been easier or more secure. Get started today and experience the future of digital payments!


10 Comments